Optimizing images for your Blog is a very important step that most people forget about. With “optimizing” I mean reducing the file size in KB (Kilobytes) and at the same time keep it’s high quality as intact as possible. In most blogs you will basically find three types of images: GIFs, PNGs and JPEGs. The advantage of optimizing your images is that your pages are going to load faster and this is a crucial point when you design a site. For example if you want to add your custom header or your custom RSS icon, you should optimize them.
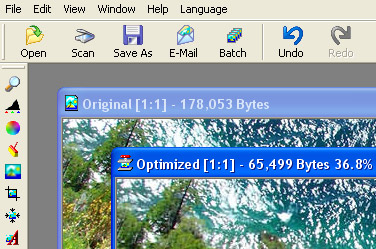
I recommend using JPEGs or PNGs for your photos or high quality images. And GIFs for graphics, icons, buttons or social bookmarking images. Although some new and cool RSS icons and Social Bookmarking images like Twitter or Facebook are PNG images, because of it’s high quality. You can see the RSS image I am using is PNG, because it has a high number of colors. Try to avoid BMPs and GIFs for photos or high quality images. To optimize my own images I use Photoshop or a program called XAT Image Optimizer. Both programs work wonders and give excellent results. Only optimize your final edited images. Once you optimize an image, you should never edit that image again. I will explain in detail in my next post how to work with Photoshop or with XAT to get high quality images with a small file size. Stay Tuned. 🙂


Hey, great post, very well written. You should write more about this.
Nice post, thanks.
Pingback: Wp Themes Planet » Optimizing your images with Photoshop
Good info, keep up the good work.