How to create a custom static page

In this post I will explain how to create a custom page for your blog and in my next article I will show you how to create a custom and static front page. Many site owners want to have a custom template for a specific page. Or set a custom “contact us” page with an online form without having to install a plugin. The first step is to design your customized page in your favorite HTML editor. You can use dreamweaver, fronpage or download a free HTML editor. You don’t have to know HTML programming. Just build the page in the design view of your HTML editor and then save it as PHP.

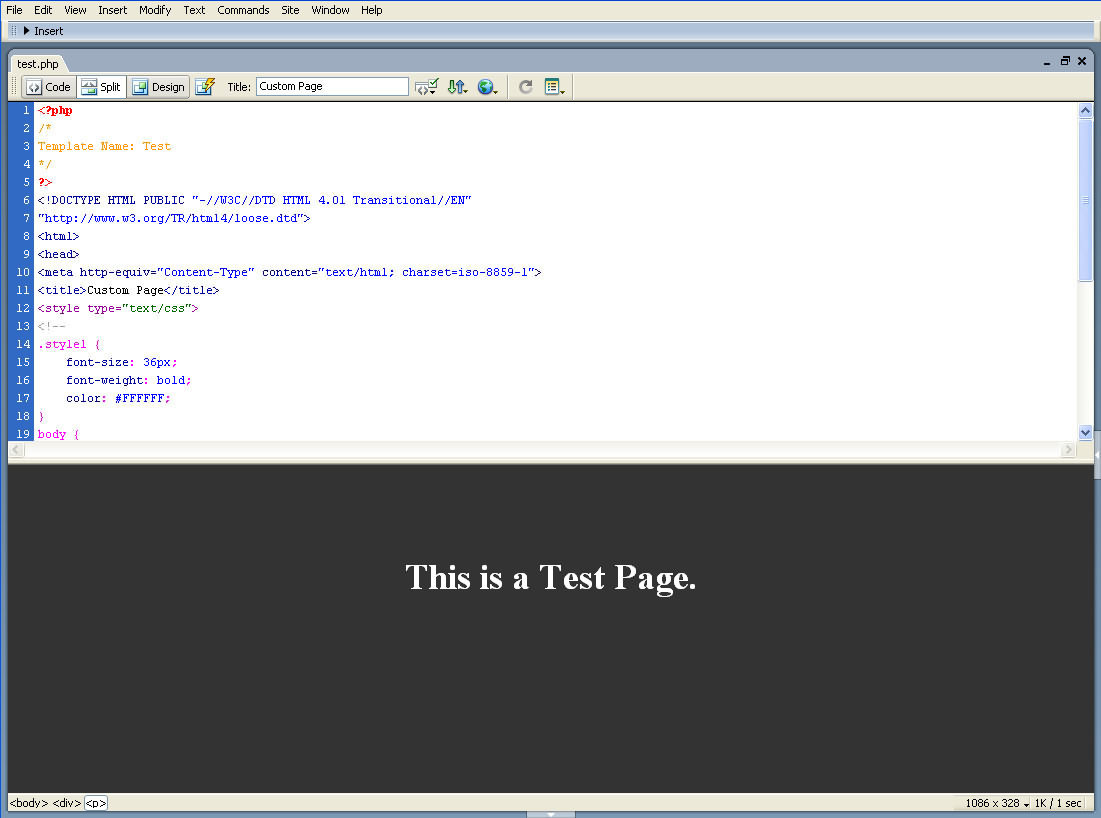
The next step is to paste some lines of code to tell Wordpress that this is a custom template. For example if you named your page test.php, the template name must be “Test”. Just make sure you don’t use any of the reserved names used by Wordpress (single, home, page, index, etc). You need to add these lines of code above the HTML code of your page:

<?php
/*
Template Name: Test
*/
?>

Your HTML code goes here.

Continue reading

Optimizing your images with Photoshop

This is a continuation of my previous post “How to optimize your Blog images”. I will explain in detail how to optimize your Blog Images with Photoshop or XAT. If you don’t have any of these programs, there are some free image optimizers out there, but I will use these two as examples.

Photoshop:

You can take advantage of Photoshop features and edit your images before you optimize them. You can play with the auto-levels or auto contrast tools in Image Adjustments, or adjust those settings manually. Hue Saturation is another great control you can play with, to give your photos better color quality. Once you are done, go to “Save for Web & Devices”. There you can select which image compression you want to use. I recommend using JPEG format for photos and pictures. For high quality graphics you can either use JPEG or PNG. When you optimize high quality images like a cute Twitter Bird with textures and shadows, try to look at the preview palette in Photoshop and check which format gives you the best quality with a small file size.

JPEG Quality for Photos

Usually JPEG gives you great results, however there are some cases when you have text in the graphics and it gets blurry in JPEG. So in that case it’s better PNG-24 or PNG-8 with 256 colors. Another advantage of PNG is that you can have images with transparent background. Only use GIF for low quality images or graphics with a few colors. Otherwise, you will get a huge file size with GIF. You can click in the sample above and see that the best option was JPEG. In that image I got excellent quality with only 30KB file size, while the PNG-24 had a bigger file size.

Continue reading